Engine
Engine Repair Proceedures
Cylinder Heads
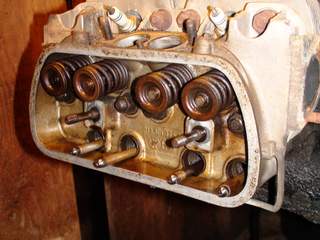
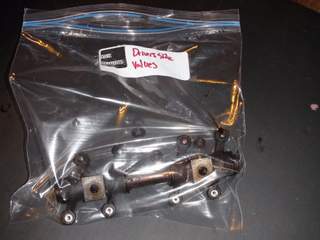
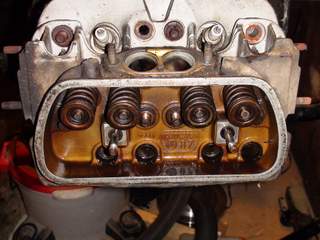
So, not that the accessories are off, we can work on the heads. Start by sliding the large wire down the valve cover on each side of the engine. Go ahead and take off the large wire also. Now that the rocker arms are exposed, take a socket set and remove the two nuts (and washers) holding those on and put all of this into a bag labeled “right (or left) head”. Pull the pushrods out of the tubes and make sure you keep them in the same order, so you can put them into the proper cylinder There are four pushrods per side, eight in all.
Sheet Metal
In this segment, we are going to remove the sheet metal that keeps the bug cool. One misnomer on this sheet metal is that is does not radiate heat, it ducts it. The tin that came with the bug is more than suitable to do this, where if it were chrome trim, the engine would be prone to overheating. You can feel the air push out the back of a properly running engine. Each piece is critical to the cooling of the engine, so keep these handy. These are all fastened by tin screws. I am not going to run down the entire list of what needs to happen here, it should be fairly self explanatory. Keep all of your parts in a bag labeled ”Sheet Metal”.
Fuel Pump
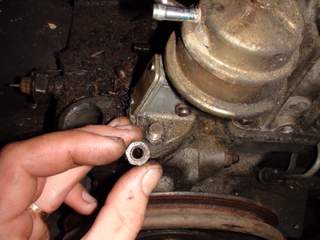
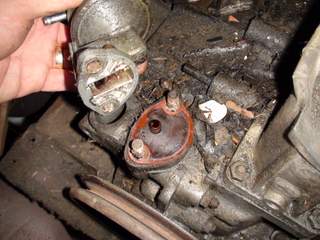
To remove the fuel pump, located next to the distributor removeand plug the two lines that come from the fuel pump. One goes directly to the gas tank, so have a golf-tee handy to plug that one up. There are the two nuts that hold that down (13mm) and pull the pump straight off. Put all of this into a bag labeled “Fuel Pump”.
