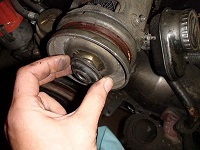
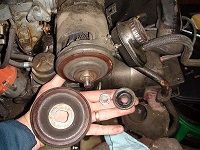
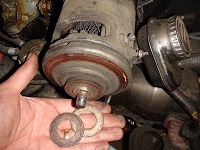
I have removed the generator and fan housing from my engine. At that point I noticed internal damage to the old generator so a replacement was bought. These come with no pully or shims so make sure that you save all of the parts from your old generator. When removing the pully, make note of how many shims there are between the halves and to the rear. This will give you a good idea as to what “setting” the Beetle already had. You will also need to remove the fan from the other end of the generator. It has been awhile since I did this so bear with me.
Removing The Generator From The Fan Shroud
We will begin by removing the “plate” that the generator inserts into. This plate is actually three parts, two dishs and one retainer ring. It is held onto the shroud by 10mm bolts, four of them. The fan is next, where that nut is torqued down to 43 ft-lb, the same as the pully nut, so you’ll have a little fun with that. There are usually more shims between the plate and the fan to give it proper clearance. Keep these separate from the other shims and record which were where. These are 10mm also, I believe. once freed from the plate, the dishes and retainer ring all separate with it. Once removed, there are two nuts on the inside of that plate that hold the generator in place. Notice the there is a vent at the bottom of the plate, which is important for re-installation. Keep and do not loose your Woodruff keys on each shaft. I do not seem to have pictures of this procedure, so we’ll move on.
Installing The Generator Into The Fan Shroud
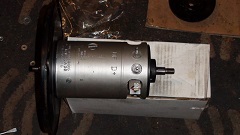
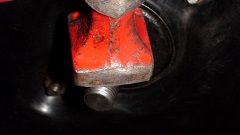
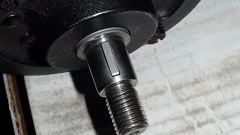
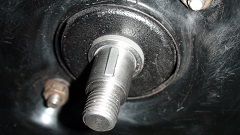
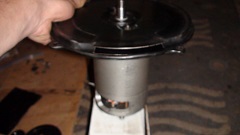
As Bently would say, “the procedure is the reverse of removal”. Let’s get into some more detail on how this all goes together. I have my new generator there, but it is bare. Go ahead and insert the Woodruff keys on either end of the generator. You might need to force these to seat properly with a hammer, tapping lightly.
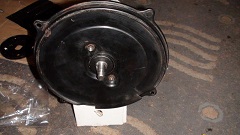
Assemble the plate unit together ensuring that the vent points down. Screw on the two nuts and the plate should be all together. Now insert the fan with the sims you pulled out from before. The clearance between the plate and the fan should be 2mm. Not doing this will cause failure, which we do not want. Again the fan nut should be torqued to 43 ft-lb. Insert the pully on the other side, as to not loose the Woodruff key over there. Put the whole plate back into the fan shroud, tightening the 10mm bolts to about 10 ft-lb. Go ahead, spin the fan, ensure it spins freely and is not rubbing on anything.
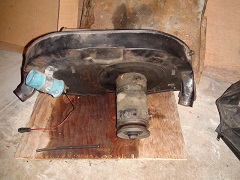
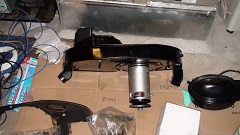
…and the final assembly should look like this:
Leave a Reply
You must be logged in to post a comment.