Interior
4. Install The Door Pillar Pieces
Now, cover the entire back side of one door panel piece with glue using the 2 inch paint brush and let it set for 15 minutes. Do the same on the body where this piece will go, 15 minutes.
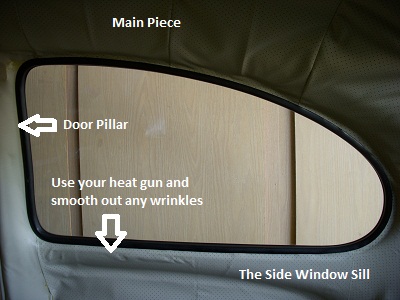
Come back and have that heat gun / hair dryer ready. Take your driver and insert the heavy plastic over the sharp toothed clamps along the door pillar. When doing this, pull the headliner material away from it’s intended area, you will see how that plastic is inserted. Pull the piece as high as it will go also, so there is no gap at the top of the door pillar.
Okay, not gently tap those clamps shut with your helper holding the glued piece towards the middle of the cabin. Go from the top to the bottom, not moving the piece. Now tightly pull the liner towards to back window, allowing it to adhere to the body.
Fun, right? Now take the heat gun and apply heat to the piece a little at a time to adjust wrinkles. Use the gun to make tight forms and stretch that liner like taffy. Heat, stretch, heat again, stretch; you get my drift? Work small areas and try not to get the headliner material too hot.
(The “Easy” Install Kit)
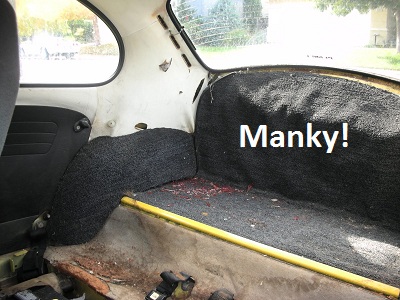
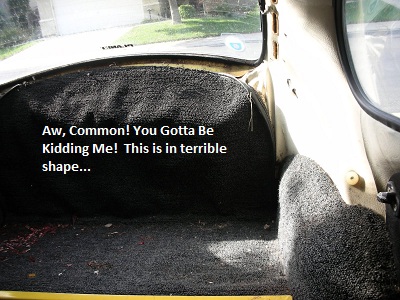
Okay, the time has come. The interior is shot and down-right manky. Holes everywhere, pieces of headliner crumbling off due to age, parts missing even?
6. Installing the Center Piece and Floor Pieces
 Next we install the center piece. We will also cover seat release mechanisms, although I recommend doing that after the glue has dried overnight. This piece requires critical cuts around the handbrake and seat release levers. Fit the piece so that the rail is lined up on the driver’s side. Take your Sharpie and mark a dot in the middle and ends of the handbrake area as best as you can. Cut a slit along those three dots and re-fit the carpet, cutting out a small trapezoid (wide end towards the rear) where the handbrake is. Keep fitting and refitting the carpet making the cuts as smalls as possible. Once you have it, line it up on the passenger side seat rail and measure the distance between the rails to see how this will lay.
Now, find the top of the seat release control box on each side of the hump and mark the corner with your Sharpie. Cut those out a little at a time, staring with a slit and slowly opening that into a box. Overlap the top and bottom a little so the cup will bite onto the carpet and look clean. This is difficult, so take your time.