4. Installing the Door Sills
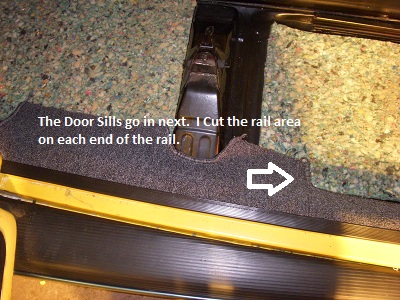
Next we will focus on the door sills. On my ’73, it has the sills that include the rubber channels (yeah, most do). These channels have a lip that needs to GO OVER the channel. DO NOT ATTEMPT to bend the rubber around the channel, that would be ludicrous. Go ahead and fit the driver’s side piece in the channel and see how it lays into the pan. I made 1/2 inch slits on each end of the seat rail to ensure proper fitting. No other cuts were required.
Take that all out, give it a haircut and apply the glue. Apply glue now to the body area and really goop it onto the excess, overlapped wing areas to ensure proper bonding. Press it all down tightly and let that dry overnight before cutting the heater channel. I will cover the channel install here, however, because it relates to the focus area.
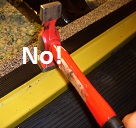
Go ahead and hammer the channel closed by tapping it moderately with a body hammer and a block of wood. Do not strike the channel directly with the hammer, unless you like the dented door channel look.

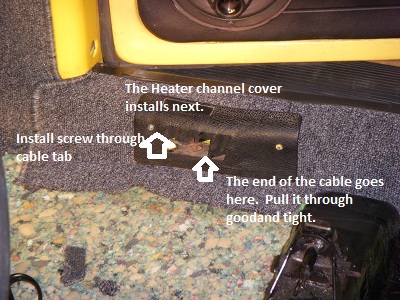
Use a sharp utility knife and cut a slit right down the middle of the hole. Then extend that another inch past the hole towards the front of the car. Carefully cut the rest of it out and get the fray out of there. Install the Channel Vent by running the heater cable through it’s home.
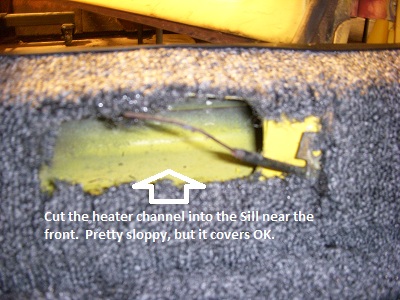
Pull it through tight, then tighten the screw. Now line up the cable tab (located in the front inside of the excess 1 inch you cut out earlier) with the holes and screw that in. It’s difficult, so be patient. Put the other screw in and you’re done. Move onto the other side…
5. Installing the Rear Carpet Kit
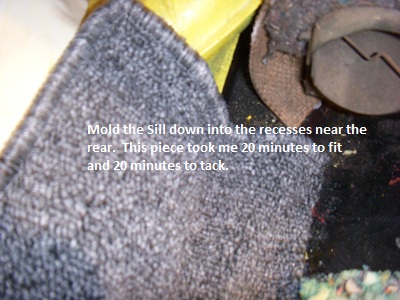
 Using your knowledge from the front so far, you now know the drill of applying the glue, so I am not going to get into that as much from here on out. Just remember, apply glue to the carpet then the body and allow 20 minutes to tack.
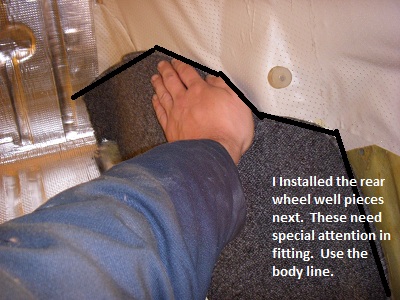
Next we will install the rear wheel wells. These are difficult to fit properly. It took me 30 minutes per side to figure it out. It does not quite fit snugly against the sides, but if you can get it as close as possible with less then 1 cm gap at the bottom, you’re doing pretty well. The side panels will cover that area nicely if the gap is not too wide. The ends will bend around and a cut is required to release the crease from that bottom corner in the back.
Glue that in once fitted and do the same for the other side. Make sure it looks exactly the same on each side when complete.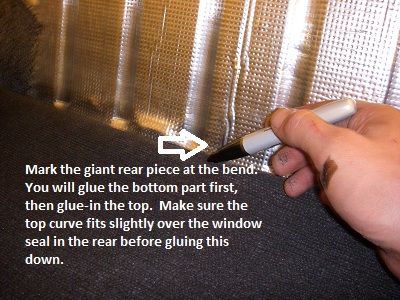
Moving on, we will install the giant rear piece. I lined the top curve to slightly over the window seal on the back window, then tucked in the corner directly below. Now, carefully bend the carpet back onto the crease, not moving it thus loosing your line-up. Take your Sharpie and mark a straight line along the crease. Take out the carpet, give it a haircut, glue it from the bottom to your line, then glue the bottom of the body area where that will go.
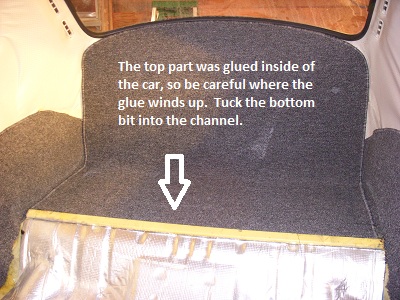 Line the carpet up again and glue the bottom of the piece in. fold the remainder over and place the glue can on top. Glue the body (on the case) and the upholstery where the carpet goes up the wall, then glue the carpet, tack and press in and smooth. Tuck the remainder of the bottom into the channel. Okay, now you are pretty much done with the rear, good job.
Leave a Reply
You must be logged in to post a comment.